Building an ADU is a smart investment that not only adds extra living space but can also bring in rental income.
In this guide, we’ll walk you through everything you need to know about building an ADU, from the first stages of planning to design and construction.
Let’s dive in!
Step 1: Planning and Research
The first steps involved in building an ADU are planning and research.
Taking the time to carefully plan out your build will have many benefits in the future, so it’s important to respect this stage.
Setting Goals
Define why you want to build an ADU.
Is it for rental income, additional living space, or housing for family members?
Understanding your goals will guide the design and construction process, and it will also give you a much better idea of how much the project will cost.
A rental unit will need to be furnished to a high standard and suitable for tenants, whereas additional living space does not need to be done to such a high standard, for example.
Research Local Regulations
Check your local zoning laws and building codes.
Ensure your property meets all requirements for adding an ADU, and consult with a professional if you’re unsure.
This step is critical – if you can’t get approval, there will not be a build to manage.
Step 2: Budgeting and Financing
After spending the time to see whether your ADU build is feasible, it’s time to look at the finances.
Set a Budget
Determine how much you’re willing to spend on your ADU. Include costs for design, permits, construction, and finishing.
Check out our article on building an ADU on a budget for ideas on how to keep costs low.
ADUs can cost a lot of money, easily over $100,000, so this part is very important. You need to be realistic with your budget, and consider other options if it won’t stretch too far.
Explore Financing Options
Financing options such as home equity loans, personal loans, or refinancing are available if you meet the approval requirements and are something to consider.
Some local governments – California, for example – offer incentives or grants for ADU construction.
Step 3: Design and Permits
For a custom ADU, hire a professional to create detailed plans. This ensures the design meets your needs and complies with local codes.
Submit your plans to the local building department and obtain the necessary permits. This step can take time, so plan accordingly.
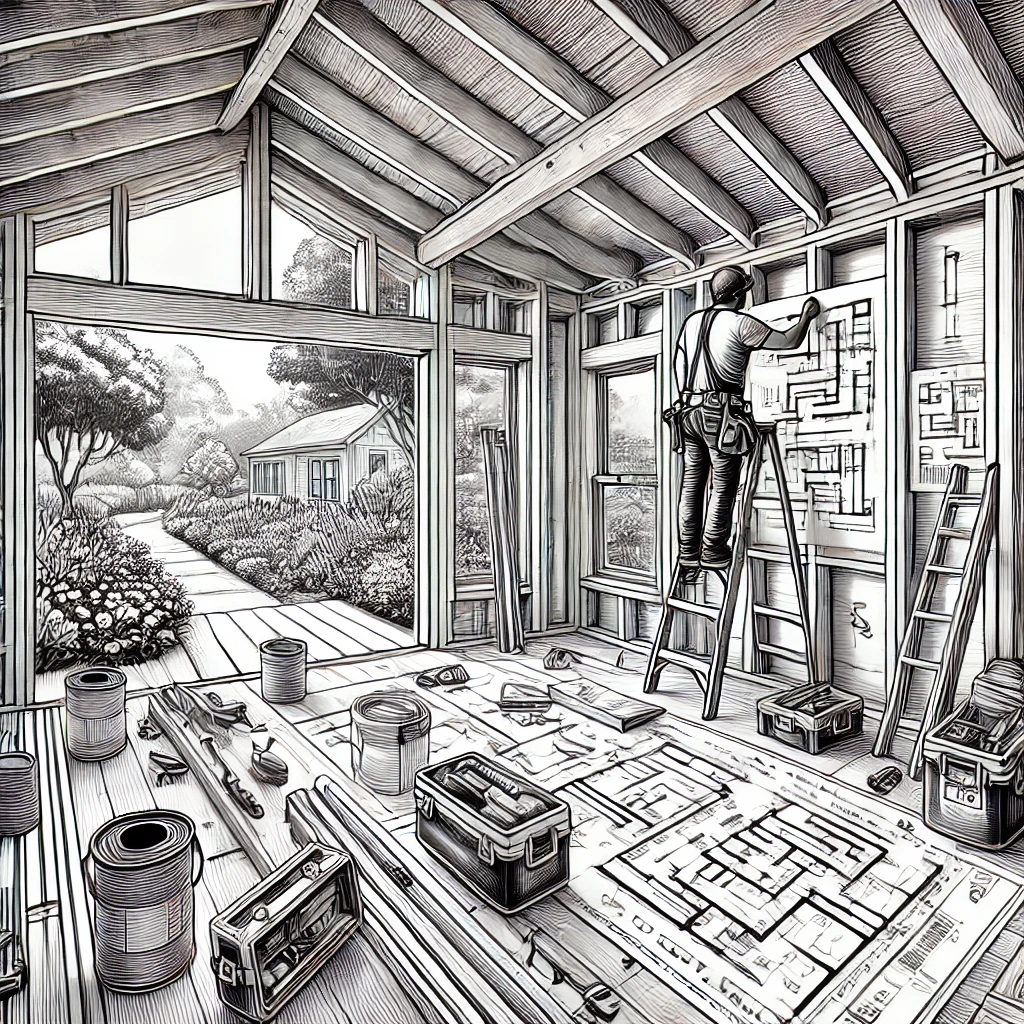
Step 4: Construction
Now everything is in place, it’s time to start construction.
Site Preparation
Site preparation is pretty straightforward and involves literally preparing the site for construction.
This includes basics like clearing obstacles in the way all the way through to laying foundations.
Building Begins
Follow your construction plans to build the ADU.
The construction process will vary depending on the type of ADU you choose:
Traditional ADUs
Traditional, stick-built ADUs are constructed on-site. This involves framing the structure, installing roofing, and fitting windows and doors.
The interior is then completed with electrical wiring, plumbing, insulation, drywall, and flooring. This process typically takes longer due to on-site challenges and weather delays.
Prefab ADUs
Prefab ADUs are constructed off-site in a factory setting, then transported and assembled on your property.
Once the prefab sections are delivered, they are quickly assembled, connected to utilities, and finished on-site. This process is faster and often more cost-effective.
Panelized ADUs
Panelized construction involves prefabricating wall panels in a factory, which are then transported to the site for assembly.
This method combines the speed of modular construction with the flexibility of traditional building, offering a balanced approach.
Finishing and Inspections
After the main construction is complete, finish the interior by installing fixtures, appliances, and final touches. Ensure all electrical, plumbing, and structural work passes inspections.
Step 5: Finishing Touches
The last step involves all the finishing touches that really transform an ADU.
Interior Finishing
Adding the final touches to the interior can make your ADU become a home.
This includes fixtures, fittings, appliances, and much more.
Landscaping
Enhance the exterior with landscaping.
This could include planting trees, shrubs, or installing a patio or deck.
FAQs
How long does it take to build an ADU?
The timeline varies, but most ADU projects take 6-12 months from planning to completion. Prefab ADUs typically take less time due to off-site construction.
Do I need an architect for my ADU?
While not always required, an architect can help ensure your ADU meets all regulations and suits your needs.
The Bottom Line
Building an ADU is a significant but rewarding project involving several steps.
Hopefully these steps are clear after reading this guide! Remember that this process should usually be overseen by a professional, so don’t sweat it if you’re not an ADU building pro just yet.